Restoring Harmony: A Deep Dive into Windows 11 Repair Upgrades
Related Articles: Restoring Harmony: A Deep Dive into Windows 11 Repair Upgrades
Introduction
With enthusiasm, let’s navigate through the intriguing topic related to Restoring Harmony: A Deep Dive into Windows 11 Repair Upgrades. Let’s weave interesting information and offer fresh perspectives to the readers.
Table of Content
Restoring Harmony: A Deep Dive into Windows 11 Repair Upgrades
The smooth operation of any computer system relies on a stable and functional operating system. Windows 11, Microsoft’s latest offering, boasts numerous enhancements and features, but like any complex software, it can encounter issues. When encountering performance hiccups, error messages, or unexpected behavior, a repair upgrade emerges as a powerful tool to restore stability and functionality.
This article delves into the intricacies of Windows 11 repair upgrades, exploring their purpose, benefits, and the intricacies of their implementation. By understanding the nuances of this process, users can equip themselves with the knowledge to effectively address system problems and maintain a seamless computing experience.
Understanding the Essence of Repair Upgrades
A Windows 11 repair upgrade, often referred to as a "repair install," is a specialized process that aims to resolve system issues without deleting user data or applications. It essentially repairs corrupt or damaged system files, reinstalls core components, and updates drivers, bringing the system back to a healthy state.
This approach differs significantly from a clean install, which involves completely wiping the hard drive and starting from scratch. While a clean install might be necessary in extreme cases, a repair upgrade offers a more efficient and user-friendly solution for common issues.
Benefits of a Windows 11 Repair Upgrade
Employing a repair upgrade can yield several benefits, making it a valuable tool in a user’s troubleshooting arsenal:
-
Resolves System Errors: The primary function of a repair upgrade is to address issues that stem from corrupted system files or outdated components. These issues can manifest in various ways, including slow performance, application crashes, or blue screen errors. By repairing these underlying problems, the repair upgrade restores stability and functionality.
-
Maintains User Data: Unlike a clean install, a repair upgrade does not erase user data or applications. This preserves personal files, documents, settings, and installed software, eliminating the need for time-consuming reinstallation and configuration.
-
Updates System Components: During the repair process, Windows 11 automatically updates critical system files, drivers, and components to their latest versions. This ensures compatibility with current hardware and software, improving overall performance and security.
-
Addresses Installation Issues: If a Windows 11 installation encountered errors or resulted in a malfunctioning system, a repair upgrade can rectify these problems by reinstalling essential components and restoring the system to a stable state.
-
Reduces System Bloatware: The repair upgrade process can help eliminate unnecessary or unwanted software that may have been installed during the initial setup or through third-party applications. This decluttering can improve performance and resource utilization.
When to Consider a Repair Upgrade
While a repair upgrade offers a valuable solution, it’s not a universal fix for all system problems. Here’s a guide to help determine when a repair upgrade might be the appropriate course of action:
-
System Errors and Crashes: Frequent blue screen errors, application crashes, or system freezes often indicate underlying issues that a repair upgrade can address.
-
Slow Performance: If the system exhibits sluggish performance, especially after a recent update or installation, a repair upgrade might resolve underlying conflicts or inefficiencies.
-
Boot Problems: If the system fails to boot properly or encounters errors during startup, a repair upgrade can attempt to repair the boot files and restore functionality.
-
Installation Issues: If a recent Windows 11 installation resulted in errors or a malfunctioning system, a repair upgrade can help rectify these problems.
-
Hardware Conflicts: If new hardware devices are causing conflicts or instability, a repair upgrade can update drivers and resolve compatibility issues.
Steps to Perform a Windows 11 Repair Upgrade
The process of performing a repair upgrade is relatively straightforward, requiring minimal technical expertise. However, it’s crucial to back up important data before proceeding to ensure data protection.
Here’s a step-by-step guide:
-
Backup Your Data: Prioritize backing up all critical data, including documents, photos, and other files. This can be achieved through external hard drives, cloud storage services, or other backup methods.
-
Access Recovery Options:
- From Windows Settings: Navigate to Settings > System > Recovery. Select "Reset this PC" and choose the "Keep my files" option.
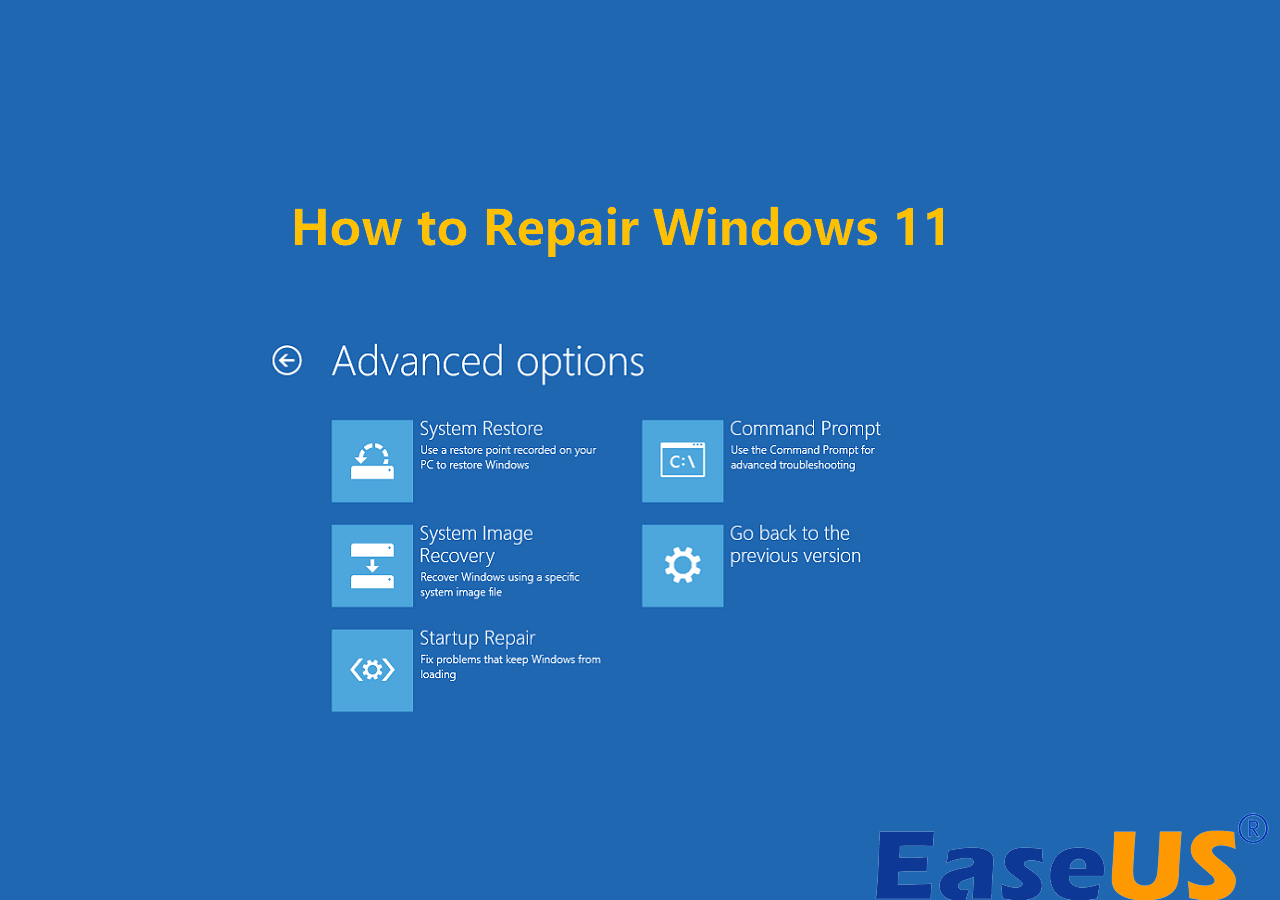
- From Startup: If the system fails to boot, use the "Advanced Startup Options" by pressing F8 or Shift+F8 during startup. Choose "Troubleshoot" and then "Reset this PC."
-
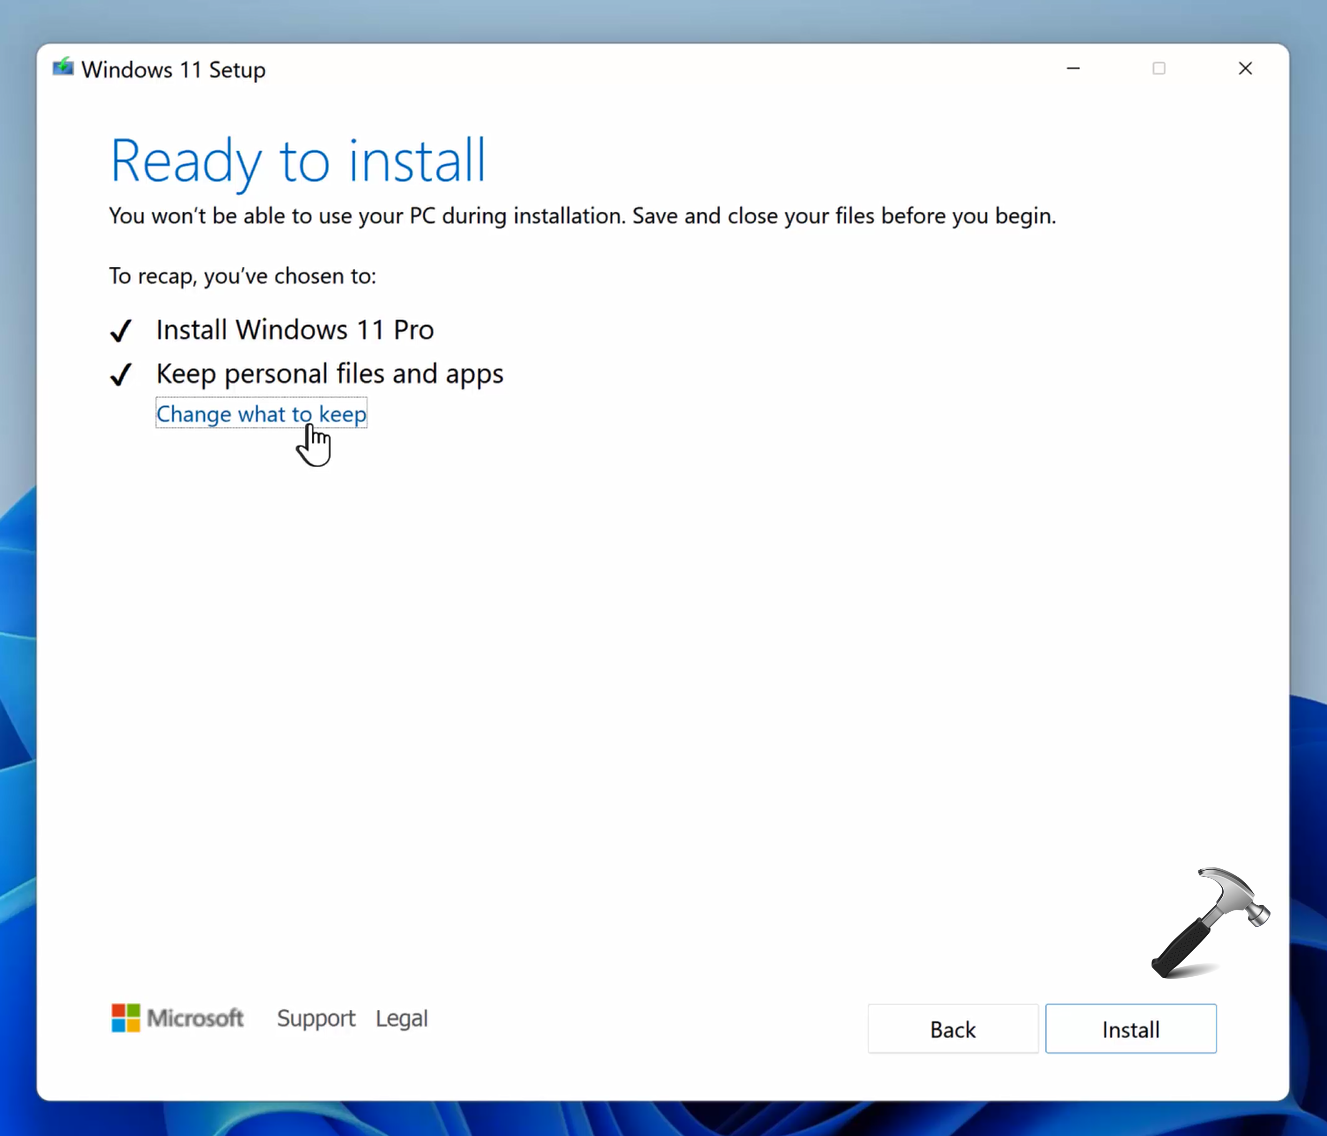
Select Repair Upgrade: Choose the "Keep my files" option during the repair upgrade process. This ensures that personal data and applications remain untouched.
-
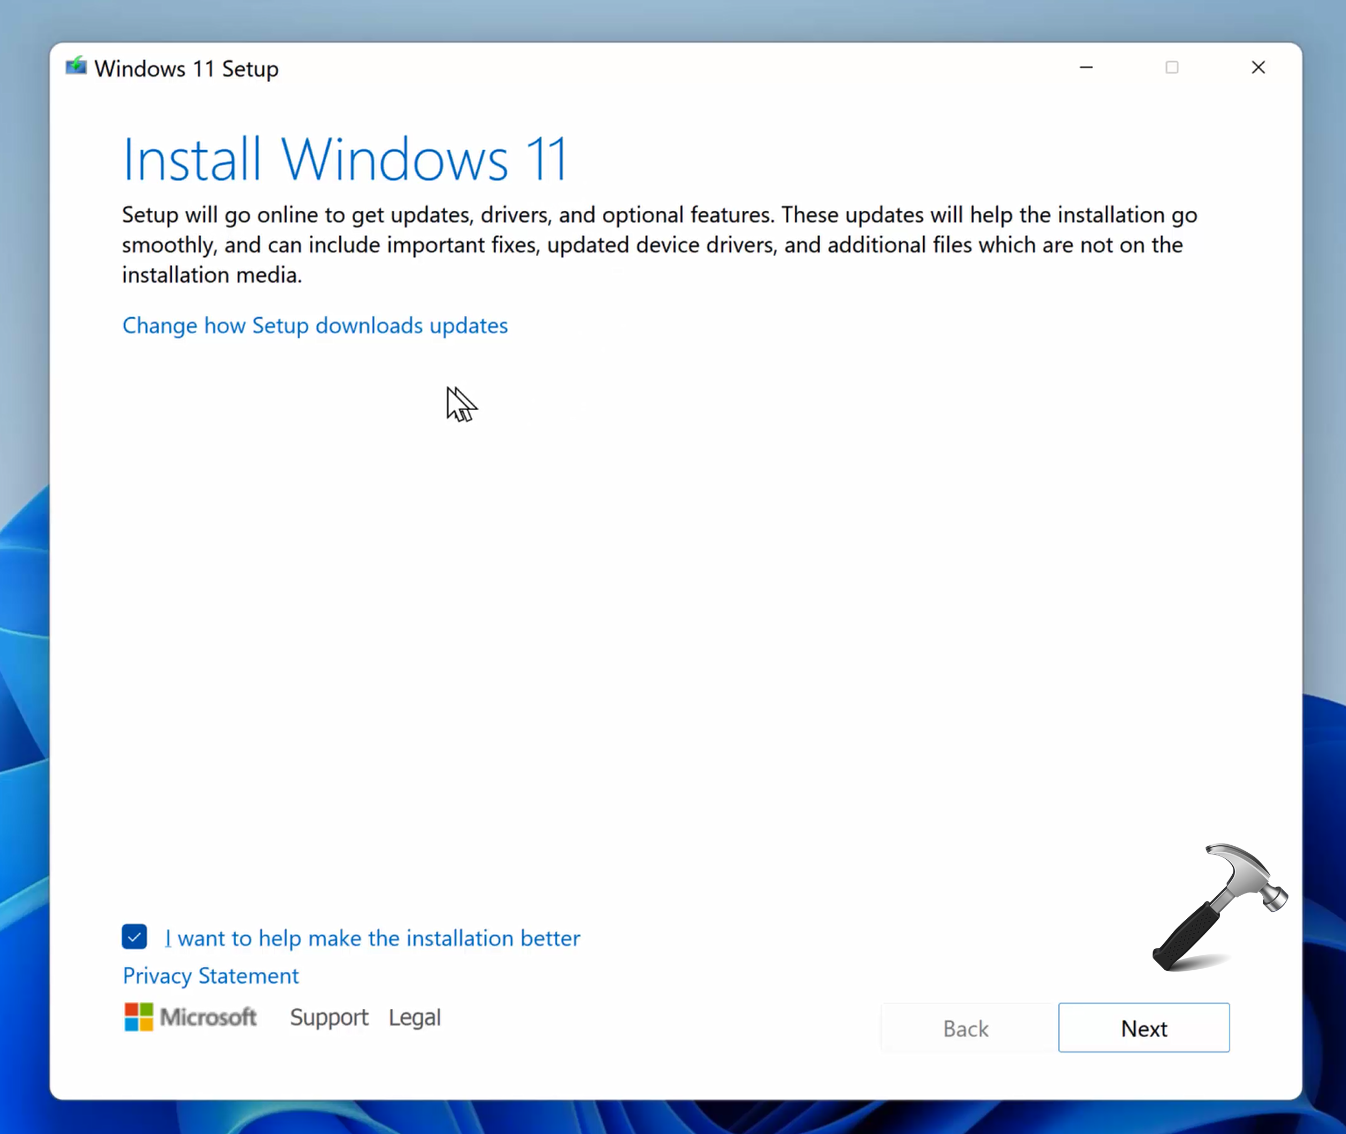
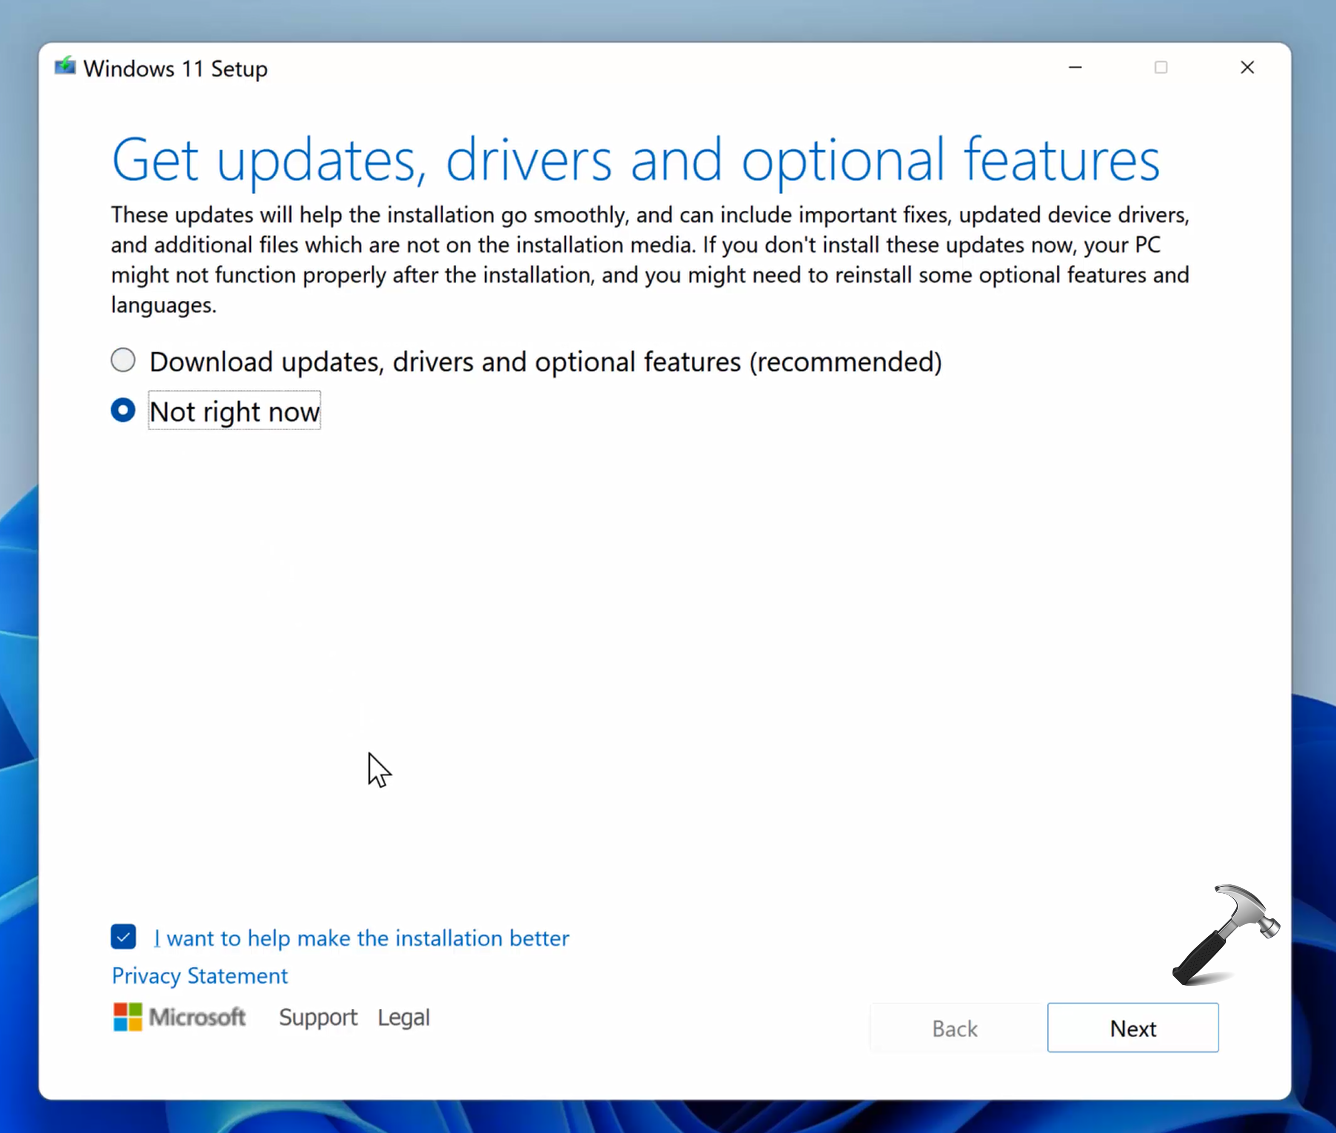
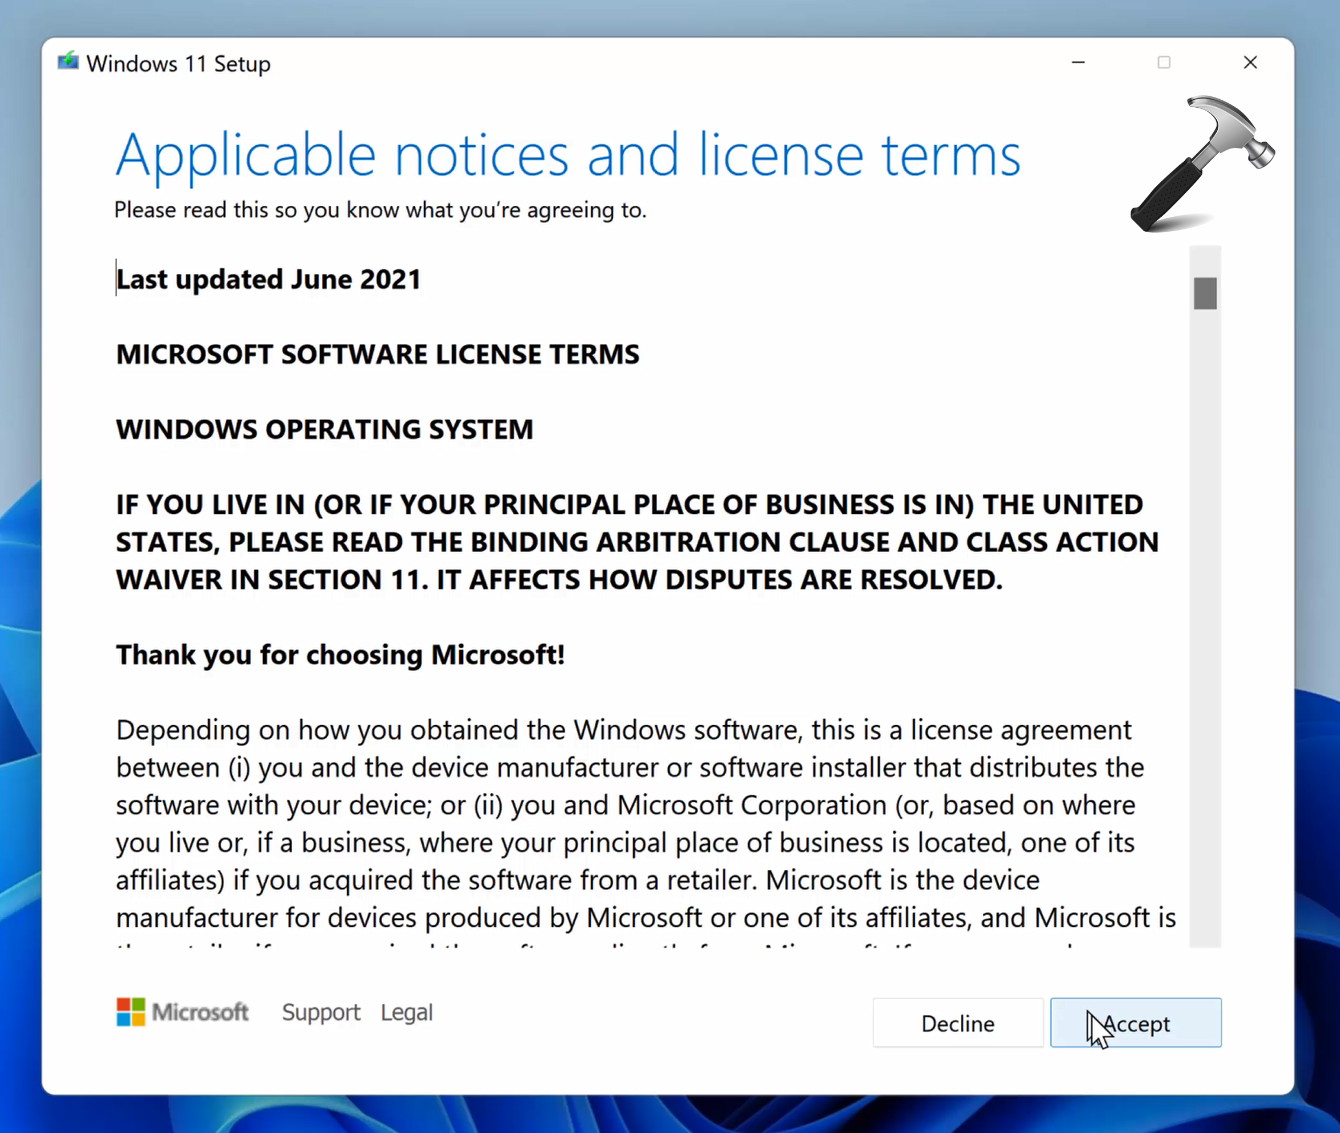
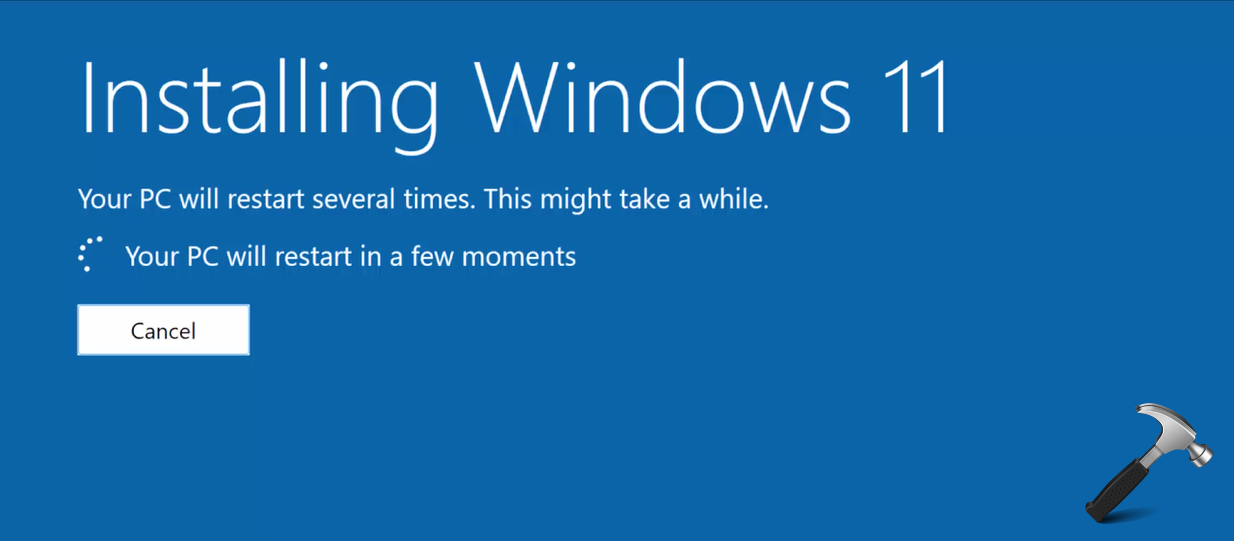
Initiate Repair: Follow the on-screen instructions to initiate the repair process. This may involve downloading and installing necessary files.
-
Restart and Completion: After the repair process is complete, the system will restart, and Windows 11 will boot into a restored state.
Tips for a Successful Repair Upgrade
While the process is generally straightforward, certain tips can enhance the success rate and minimize potential issues:
-
Ensure Stable Internet Connection: A stable internet connection is crucial for downloading and installing necessary files during the repair process.
-
Disable Antivirus Software: Temporarily disable antivirus software to avoid potential conflicts with the repair process.
-
Disconnect External Devices: Disconnect unnecessary external devices, such as printers, scanners, and USB drives, to prevent conflicts.
-
Check for Updates: Ensure that all necessary updates are installed before initiating the repair upgrade.
-
Restart After Completion: After the repair process is complete, restart the system to ensure that all changes are applied correctly.
FAQs about Windows 11 Repair Upgrades
Q: Will a repair upgrade delete my personal files?
A: No, a repair upgrade does not delete personal files or applications. It focuses on repairing system files and reinstalling core components, preserving user data.
Q: Can I perform a repair upgrade if I can’t boot into Windows?
A: Yes, you can access the recovery options through the "Advanced Startup Options" by pressing F8 or Shift+F8 during startup. This allows you to initiate a repair upgrade even if the system fails to boot normally.
Q: How long does a repair upgrade take?
A: The duration of a repair upgrade varies depending on factors like system configuration, internet speed, and the extent of the repair required. It can range from 30 minutes to several hours.
Q: What if the repair upgrade fails to resolve the issue?
A: If the repair upgrade does not resolve the issue, a clean install might be necessary. However, it’s recommended to try troubleshooting steps or contacting Microsoft support before resorting to a clean install.
Conclusion
A Windows 11 repair upgrade is a powerful tool for restoring system stability and functionality without losing user data. By understanding its purpose, benefits, and implementation, users can effectively address system issues and maintain a seamless computing experience. While not a universal fix, it offers a valuable alternative to a clean install, preserving user data and restoring a healthy system state. By employing repair upgrades judiciously, users can ensure that their Windows 11 systems remain robust and reliable, delivering a consistent and productive user experience.


Closure
Thus, we hope this article has provided valuable insights into Restoring Harmony: A Deep Dive into Windows 11 Repair Upgrades. We hope you find this article informative and beneficial. See you in our next article!