Rejuvenating Your Windows 11 System: A Guide to Clean Installation Without Data Loss
Related Articles: Rejuvenating Your Windows 11 System: A Guide to Clean Installation Without Data Loss
Introduction
With great pleasure, we will explore the intriguing topic related to Rejuvenating Your Windows 11 System: A Guide to Clean Installation Without Data Loss. Let’s weave interesting information and offer fresh perspectives to the readers.
Table of Content
Rejuvenating Your Windows 11 System: A Guide to Clean Installation Without Data Loss
Windows 11, with its sleek interface and enhanced features, offers a compelling user experience. However, over time, accumulated files, software installations, and system updates can lead to performance degradation and stability issues. A clean installation, the process of reinstalling Windows without erasing your data, can effectively address these problems, restoring your system to a pristine state.
This comprehensive guide provides a detailed exploration of the process of reinstalling Windows 11 without losing valuable data, outlining its benefits, addressing common concerns, and offering practical tips for a smooth and successful operation.
Understanding the Benefits of a Clean Installation
A clean installation of Windows 11 offers several advantages, significantly impacting your system’s performance and overall user experience:
- Enhanced Performance: Over time, your system accumulates temporary files, registry entries, and other remnants of software installations. These can clog up your system’s resources, leading to slowdowns and sluggish performance. A clean installation removes these unnecessary files, freeing up valuable disk space and resources, resulting in a noticeably faster and smoother system.
- Improved Stability: A clean installation removes potential conflicts between software programs, drivers, and system files, leading to a more stable and reliable system. This can significantly reduce the occurrence of crashes, freezes, and other system errors, enhancing your overall computing experience.
- Elimination of Malware: A clean installation effectively removes any lingering malware or viruses that may have infected your system. By installing a fresh copy of Windows 11, you create a clean slate, ensuring your system is protected from malicious software.
- Troubleshooting Complex Issues: If you are experiencing persistent system issues that cannot be resolved through conventional troubleshooting methods, a clean installation can be an effective solution. It resets your system to its default state, eliminating any corrupted files or configuration settings that may be causing problems.
- Software Conflicts Resolution: A clean installation can resolve conflicts between software programs that may be causing your system to malfunction. By starting fresh, you eliminate potential incompatibilities and ensure that all your software runs smoothly.
Navigating the Process: A Step-by-Step Guide
Reinstalling Windows 11 without data loss requires careful planning and execution. Here is a comprehensive guide outlining the key steps involved:
- Backup Your Data: Before embarking on the clean installation process, it is crucial to create a complete backup of your data. This includes your personal files, documents, photos, videos, and any other important data stored on your system. You can utilize external hard drives, cloud storage services, or dedicated backup software for this purpose. Ensure the backup is comprehensive and readily accessible.
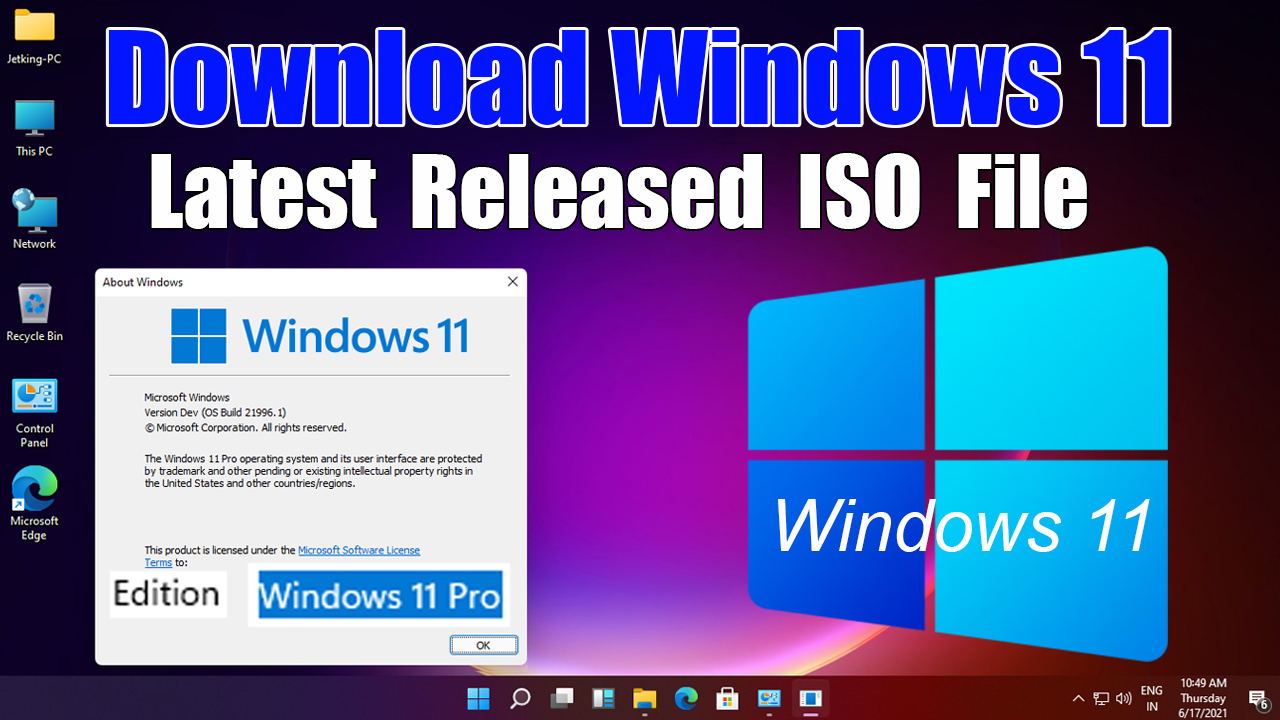
- Create a Bootable USB Drive: The next step involves creating a bootable USB drive with the Windows 11 installation media. This will be used to initiate the clean installation process. You can download the Windows 11 ISO file from Microsoft’s website and use a tool like Rufus or the Windows USB/DVD Download Tool to create the bootable drive.
- Access the BIOS/UEFI Settings: Restart your computer and access the BIOS or UEFI settings. This is typically done by pressing a specific key during the boot process, often F2, F10, or Del. Consult your computer manufacturer’s documentation for the correct key combination.
- Change Boot Order: In the BIOS/UEFI settings, navigate to the Boot Order section. Set the USB drive as the first boot device, ensuring your system boots from the installation media. Save the changes and exit the BIOS/UEFI.
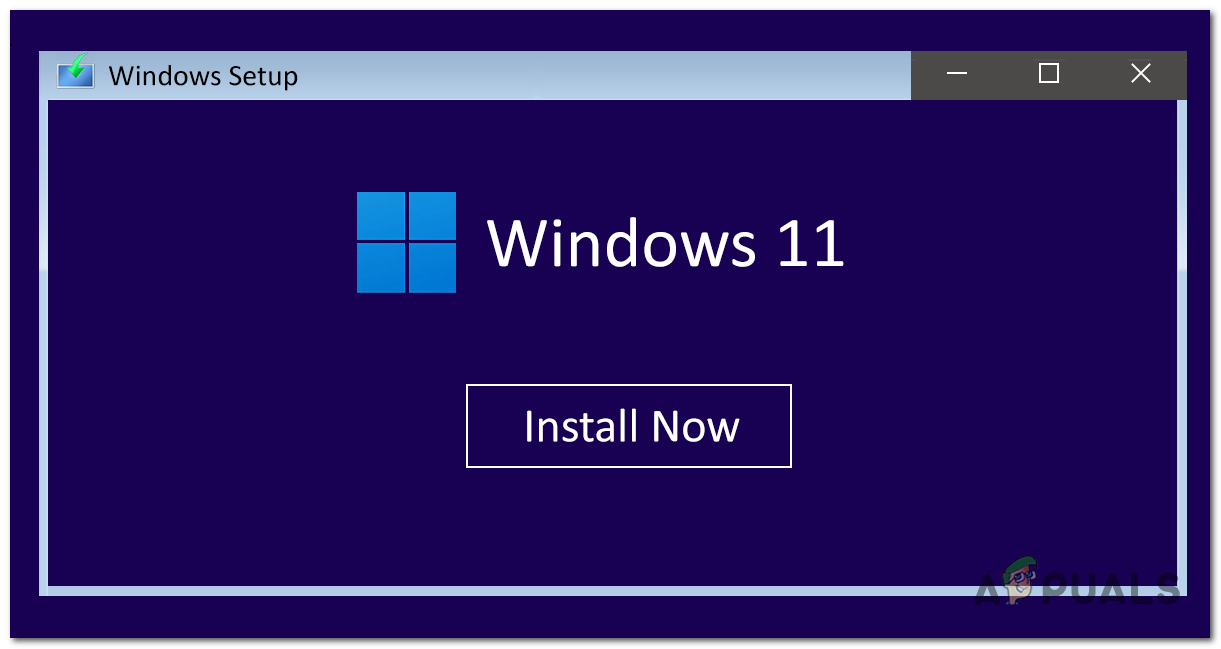
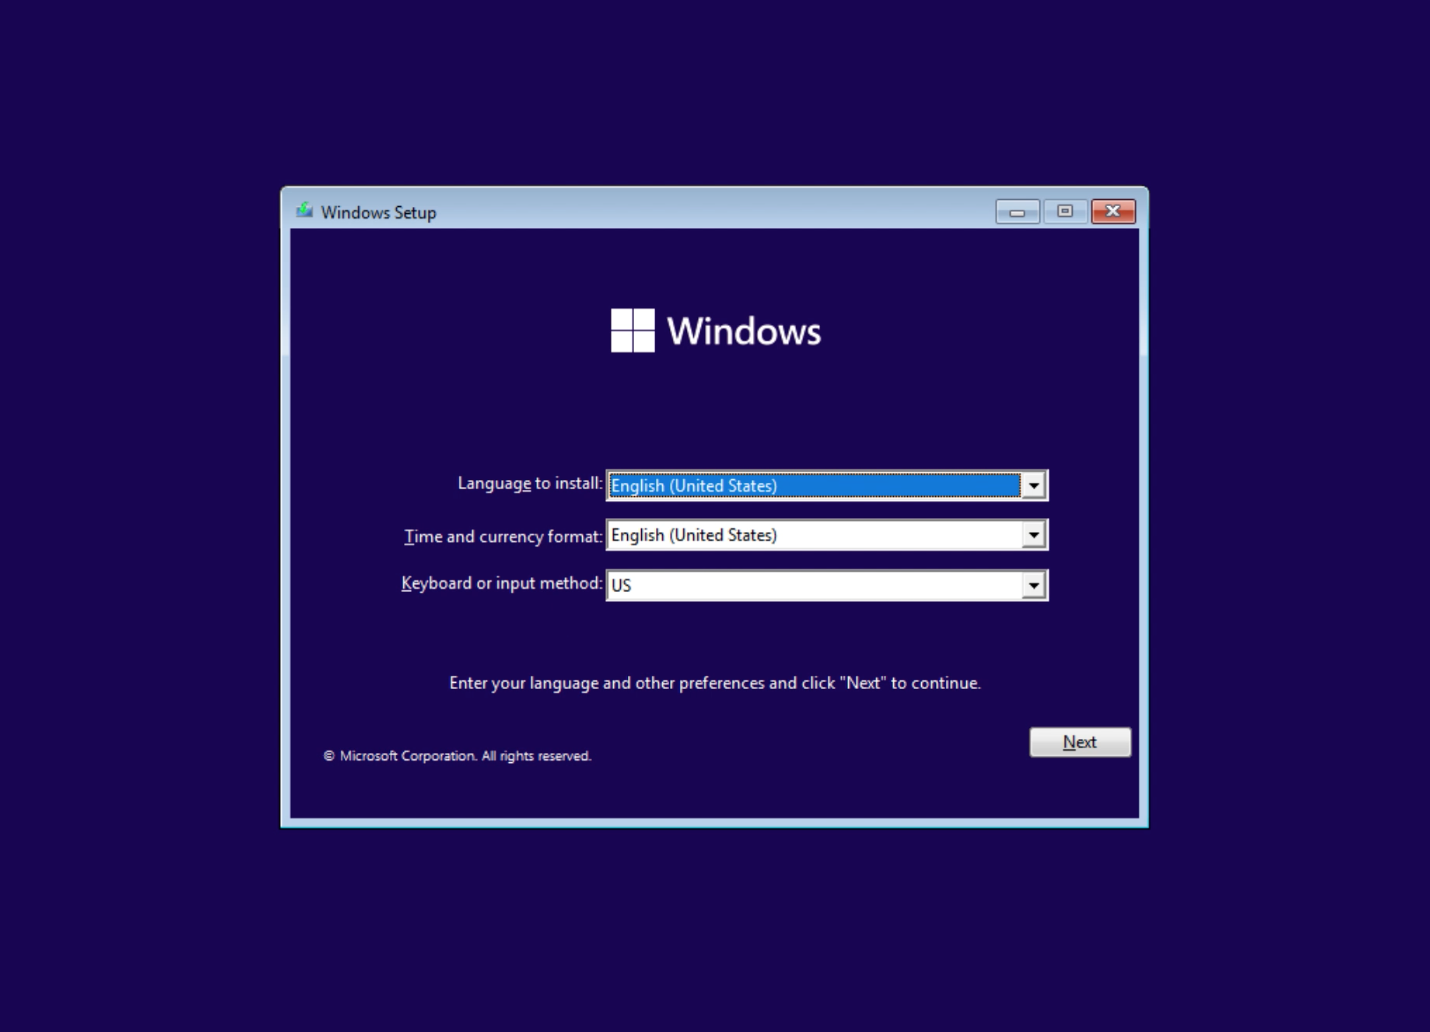
- Start the Installation: Your computer will now boot from the USB drive, initiating the Windows 11 installation process. Follow the on-screen instructions to begin the installation.
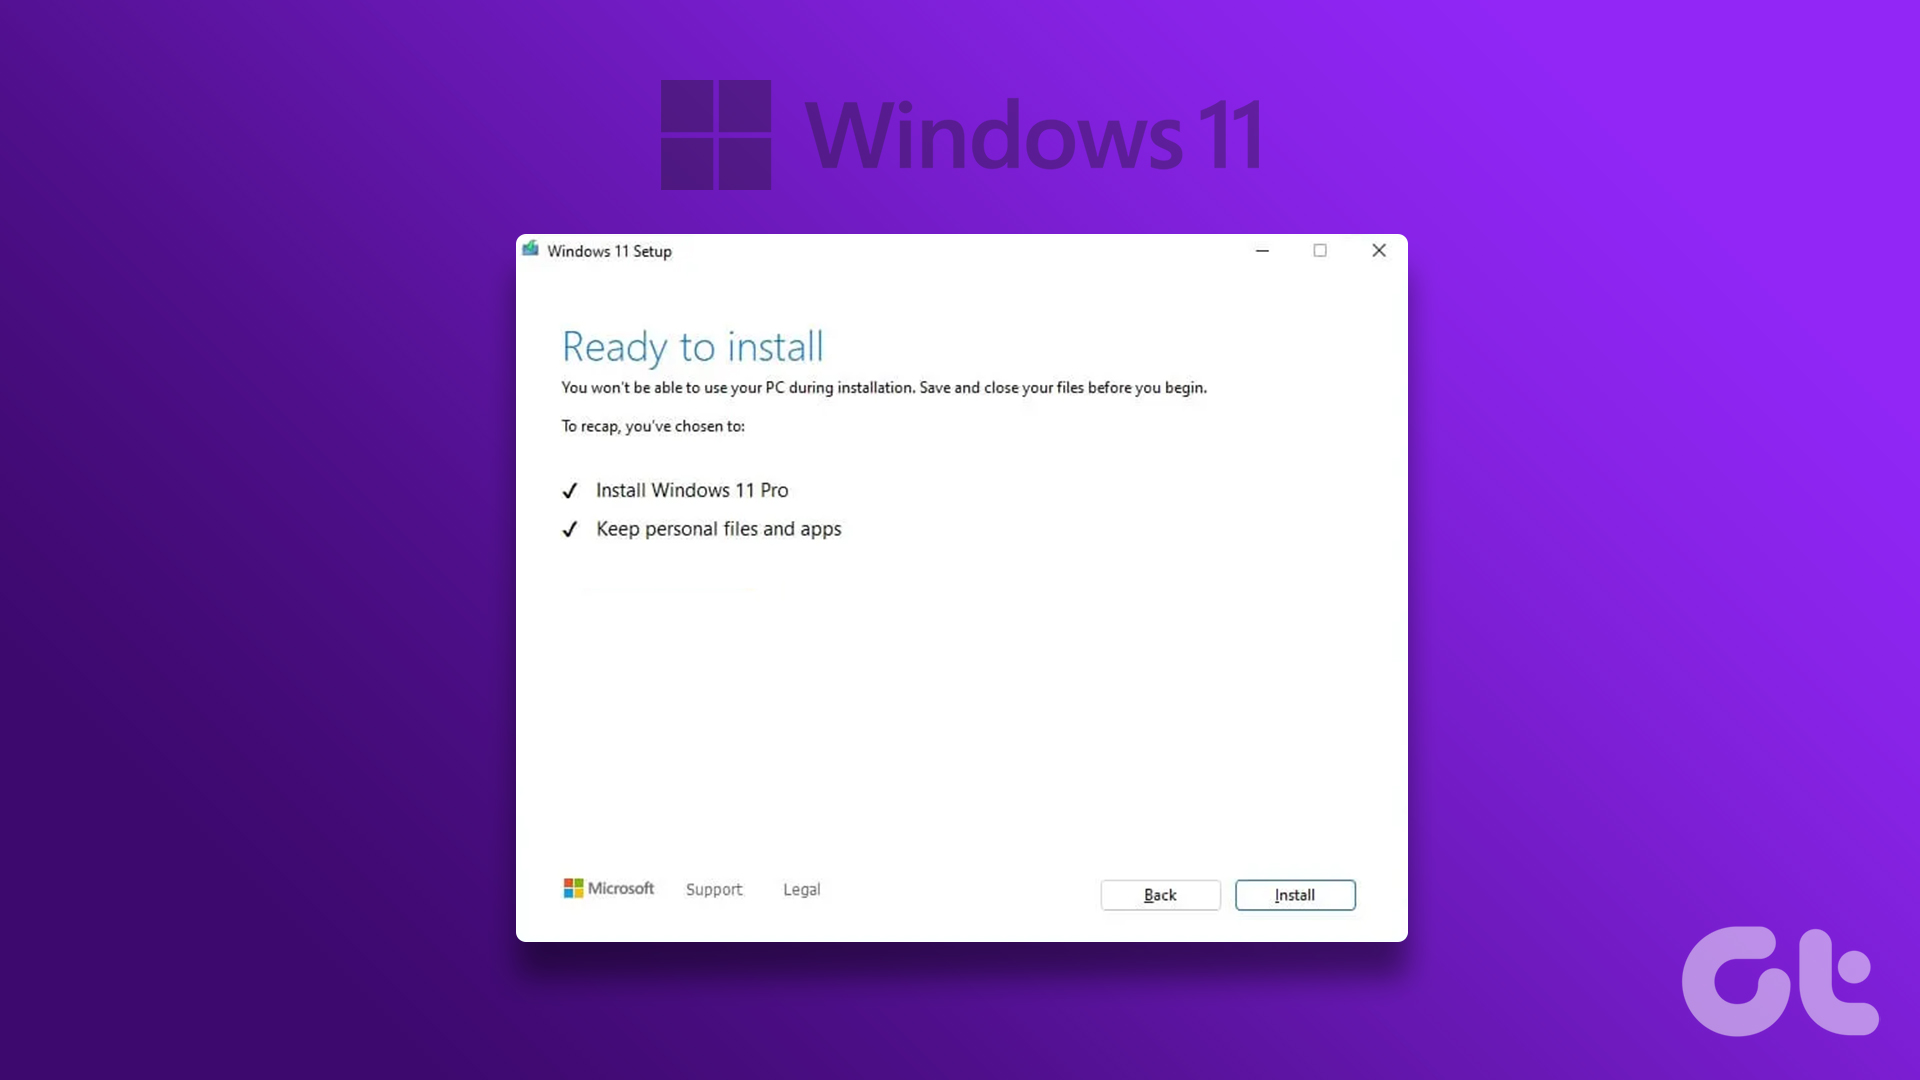
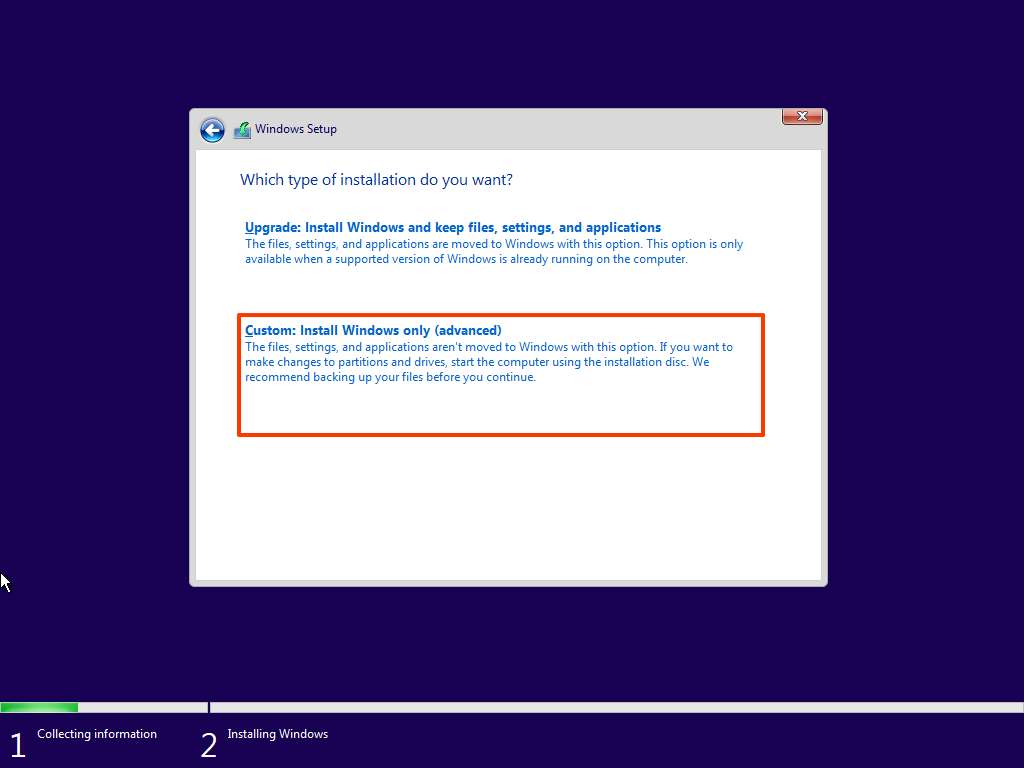
- Choose "Custom Install": During the installation process, you will be presented with two options: "Upgrade" and "Custom Install." Select "Custom Install" to perform a clean installation.
- Select the Drive: You will then be presented with a list of drives on your computer. Choose the drive where your Windows 11 operating system is currently installed.
- Format the Drive: Before proceeding with the installation, you will be prompted to format the selected drive. This step will erase all data on the drive, so ensure you have a complete backup.
- Install Windows 11: After formatting the drive, the Windows 11 installation process will begin. This may take some time, depending on your system’s specifications.
- Set Up Your System: Once the installation is complete, you will be prompted to set up your system. This includes setting up your account, choosing your language and region, and connecting to the internet.
- Restore Your Data: After setting up your system, you can restore your backed-up data to your computer. This can be done by transferring files from your external hard drive, cloud storage, or by using the backup software you used to create the backup.
Addressing Common Concerns
While a clean installation of Windows 11 is generally a straightforward process, some concerns may arise:
- Data Loss: The primary concern is data loss. However, by creating a complete backup before starting the installation, you can ensure the safety of your valuable data.
- Driver Compatibility: After a clean installation, you may need to reinstall drivers for your hardware components. Ensure you have access to the latest drivers from your hardware manufacturer’s website.
- Software Compatibility: Some software may not be compatible with the new installation of Windows 11. Check for compatibility updates or consider alternative software options.
- Lost Settings: You may lose some of your system settings, such as custom themes, desktop backgrounds, and program settings. You can restore these settings from your backup or reconfigure them manually.
Frequently Asked Questions
Q: Can I install Windows 11 without a product key?
A: You can install Windows 11 without a product key, but it will be in evaluation mode, which has limited functionality. You will need to activate Windows 11 with a valid product key to fully utilize its features.
Q: What if I don’t have a bootable USB drive?
A: If you don’t have a bootable USB drive, you can create one using a different computer. You can also download and use a tool like Rufus or the Windows USB/DVD Download Tool to create the bootable drive.
Q: Can I reinstall Windows 11 without formatting my drive?
A: You can reinstall Windows 11 without formatting your drive, but this is not recommended. A clean installation ensures that you remove all unnecessary files and registry entries, leading to a more stable and efficient system.
Q: What if I encounter errors during the installation process?
A: If you encounter errors during the installation process, try restarting your computer and repeating the process. If the errors persist, consult Microsoft’s support website or seek assistance from a qualified technician.
Tips for a Smooth Reinstallation
- Check System Requirements: Ensure your computer meets the minimum system requirements for Windows 11 before proceeding with the installation.
- Download the Latest Drivers: Before starting the installation, download the latest drivers for your hardware components from the manufacturer’s website.
- Disable Antivirus Software: Temporarily disable your antivirus software to avoid potential conflicts during the installation process.
- Create a Recovery Drive: Create a Windows recovery drive before starting the installation. This can be used to troubleshoot any problems that may arise during or after the installation.
- Back Up Your Registry: If you are familiar with the Windows registry, consider backing up your registry before starting the installation. This can help restore your system settings in case of unexpected issues.
Conclusion
A clean installation of Windows 11 can effectively address performance issues, enhance system stability, and provide a fresh start for your computer. While it may seem daunting, the process is relatively straightforward, and the benefits far outweigh the potential challenges. By following the steps outlined in this guide, you can confidently rejuvenate your Windows 11 system, restoring its performance and reliability, while preserving your valuable data. Remember to always prioritize data backup and consult reliable resources for assistance if needed. A clean installation can be a powerful tool for optimizing your computing experience and ensuring a smooth and efficient system.
![Windows 11 Upgrade VS Clean Install [What's the Difference] - EaseUS](https://www.easeus.com/images/en/screenshot/todo-backup/guide/how-to-clean-install-windows-11.jpg)


Closure
Thus, we hope this article has provided valuable insights into Rejuvenating Your Windows 11 System: A Guide to Clean Installation Without Data Loss. We thank you for taking the time to read this article. See you in our next article!