Reinstalling the Windows Subsystem for Linux (WSL) on Windows 11: A Comprehensive Guide
Related Articles: Reinstalling the Windows Subsystem for Linux (WSL) on Windows 11: A Comprehensive Guide
Introduction
With enthusiasm, let’s navigate through the intriguing topic related to Reinstalling the Windows Subsystem for Linux (WSL) on Windows 11: A Comprehensive Guide. Let’s weave interesting information and offer fresh perspectives to the readers.
Table of Content
- 1 Related Articles: Reinstalling the Windows Subsystem for Linux (WSL) on Windows 11: A Comprehensive Guide
- 2 Introduction
- 3 Reinstalling the Windows Subsystem for Linux (WSL) on Windows 11: A Comprehensive Guide
- 3.1 Understanding the Need for WSL Reinstallation
- 3.2 The Reinstallation Process: A Step-by-Step Guide
- 3.3 Common Challenges and Troubleshooting
- 3.4 The Benefits of Reinstalling WSL
- 3.5 Frequently Asked Questions (FAQs)
- 3.6 Tips for Reinstalling WSL
- 3.7 Conclusion
- 4 Closure
Reinstalling the Windows Subsystem for Linux (WSL) on Windows 11: A Comprehensive Guide
The Windows Subsystem for Linux (WSL) has become an invaluable tool for developers and users alike, enabling seamless integration of Linux environments within the Windows ecosystem. While WSL generally operates smoothly, situations may arise where a reinstall becomes necessary. This could be due to encountering errors, upgrading to a new WSL version, or simply wanting a fresh start. This article provides a comprehensive guide to reinstalling WSL on Windows 11, covering various aspects and offering valuable insights.
Understanding the Need for WSL Reinstallation
Reinstalling WSL is not a routine procedure, and its necessity should be carefully evaluated. Here are some common scenarios that necessitate a reinstall:
- Encountering Persistent Errors: If WSL consistently throws errors, despite troubleshooting efforts, a reinstall might be the solution. This could be due to corrupted files or configurations.
- Upgrading to a New WSL Version: New versions of WSL often introduce improvements and bug fixes. While upgrades are typically seamless, a reinstall might be required for full compatibility.
- Starting Fresh: If you want a clean slate with WSL, a reinstall allows you to remove all existing configurations and distributions. This can be helpful when transitioning to a new project or experimenting with different setups.
The Reinstallation Process: A Step-by-Step Guide
Reinstalling WSL on Windows 11 is relatively straightforward, involving the following steps:
-
Disable and Uninstall WSL:
- Open Settings and navigate to Apps > Apps & features.
- Search for "Windows Subsystem for Linux" and select it.
- Click Uninstall.
- Confirm the uninstallation process.
-
Remove WSL Files:
- Open File Explorer and navigate to C:Users
AppDataLocalPackages . - Locate folders starting with "CanonicalGroupLimited."
- Delete these folders.
- Open File Explorer and navigate to C:Users
-
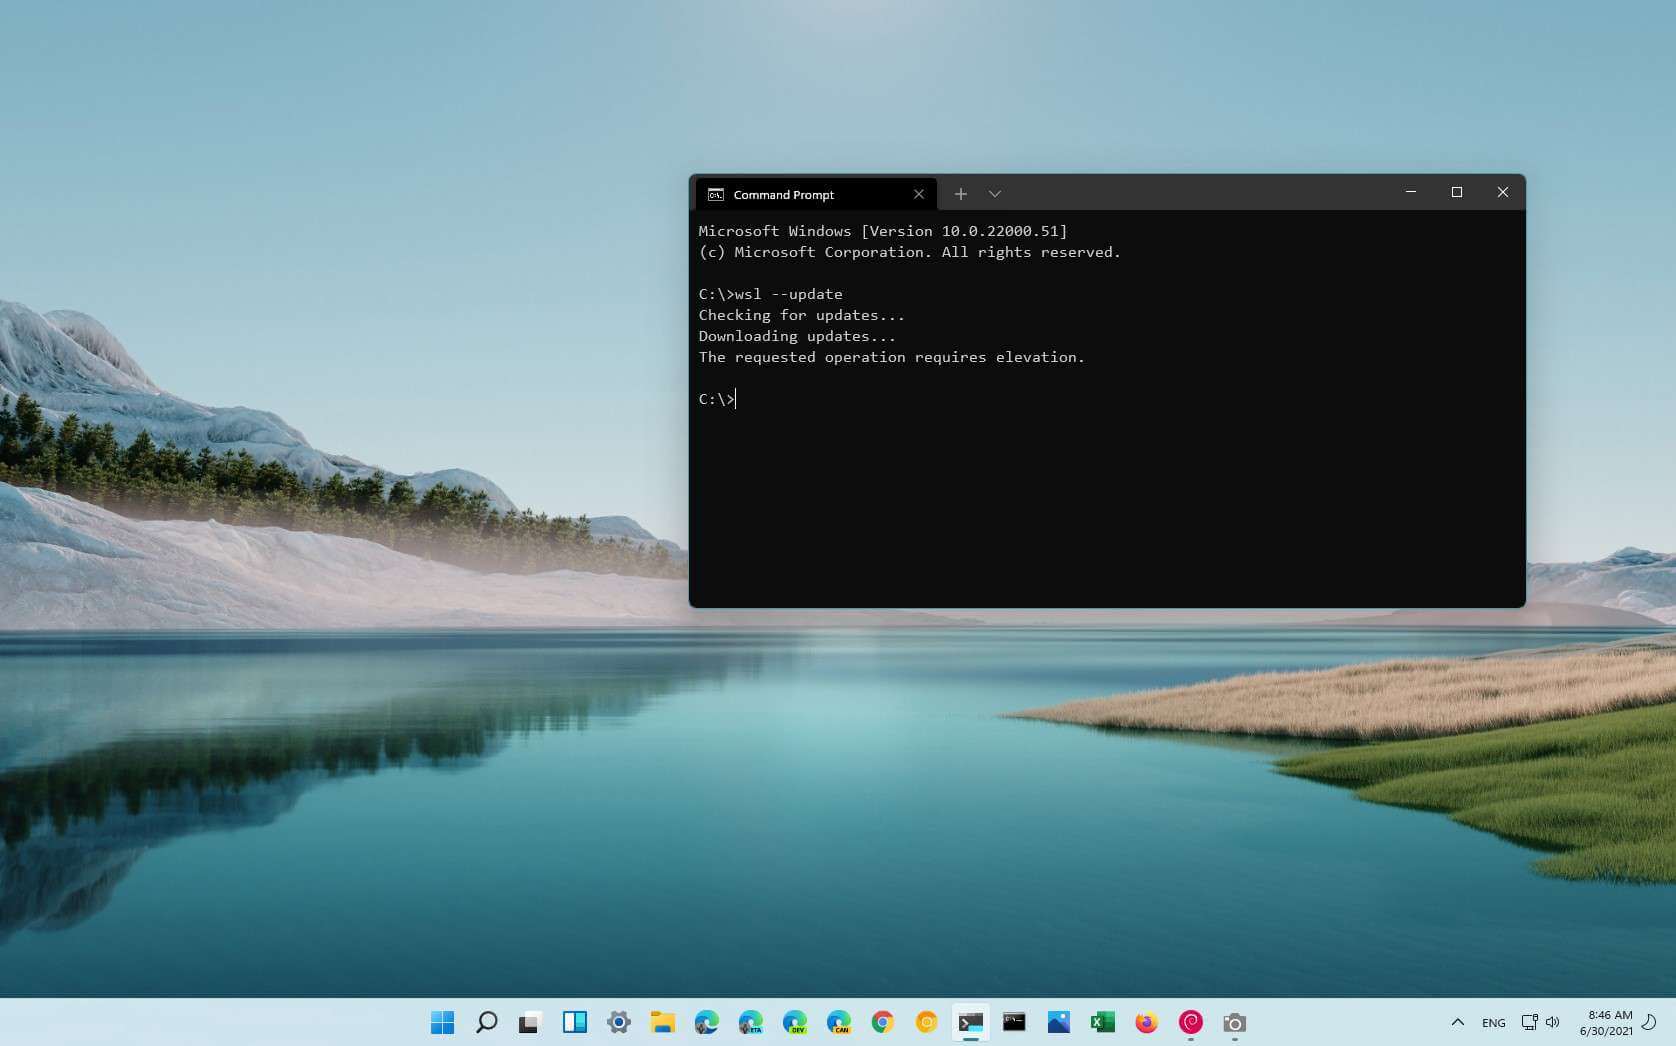
Enable Virtual Machine Platform:
- Open Settings and navigate to Apps > Optional features.
- Click Add a feature.
- Search for "Virtual Machine Platform" and select it.
- Click Install.
-
Re-enable WSL:
- Open Settings and navigate to Apps > Apps & features.
- Click Optional features.
- Search for "Windows Subsystem for Linux" and select it.
- Click Install.
-
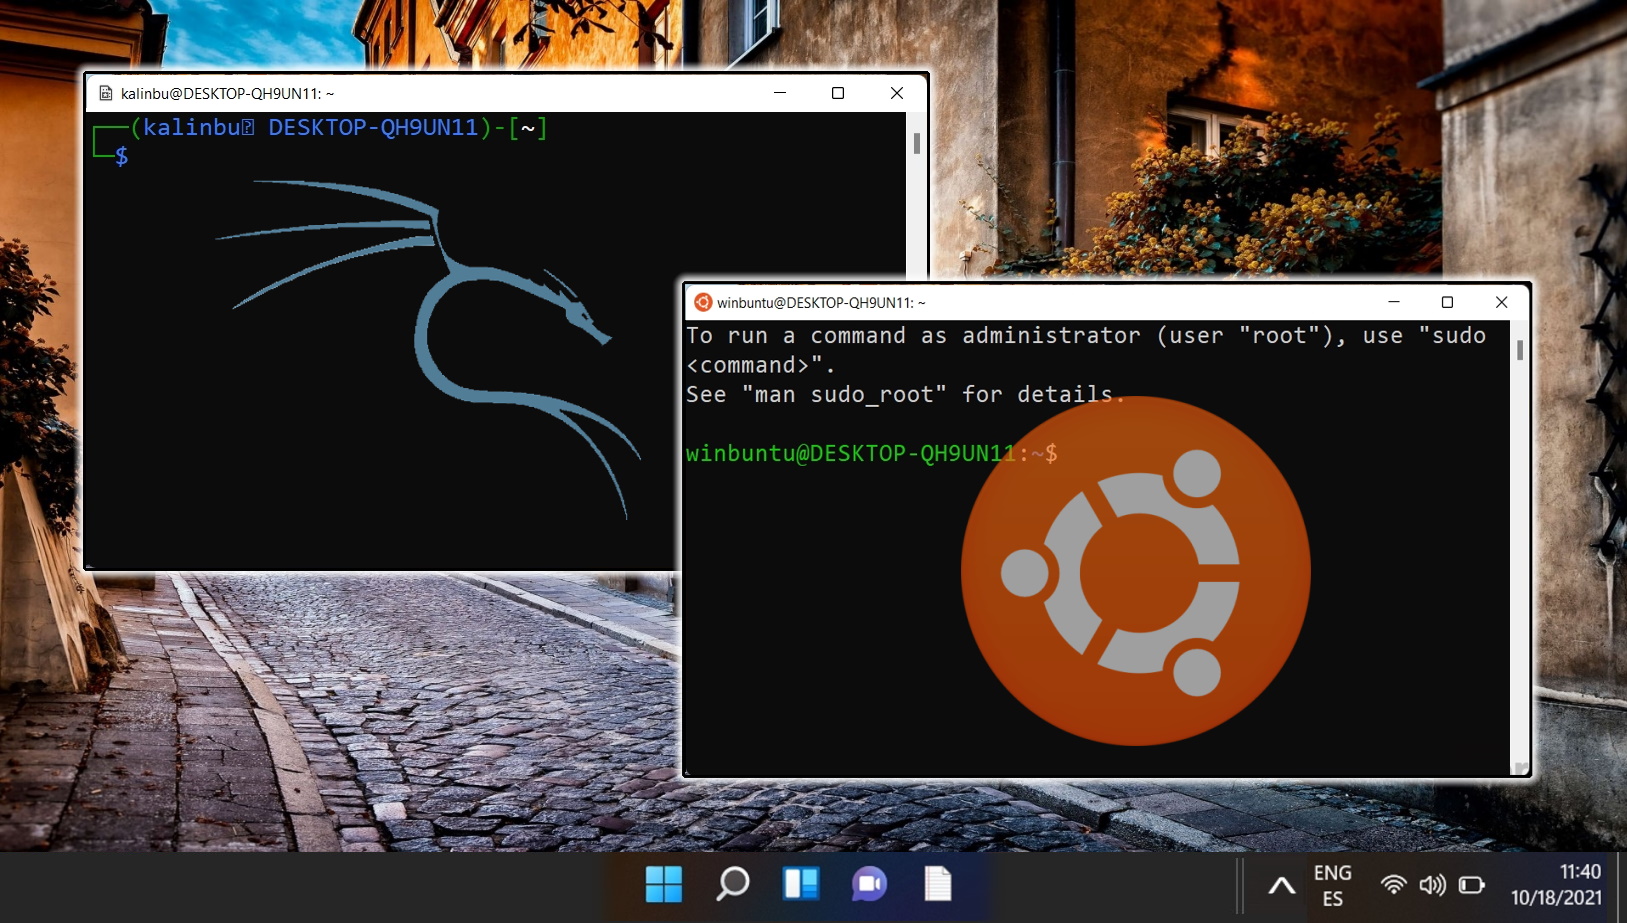
Install Your Desired Linux Distribution:
- Open Microsoft Store and search for the desired Linux distribution.
- Click Get to install the distribution.
-
Verify Installation:
- Open Windows Terminal or Command Prompt.
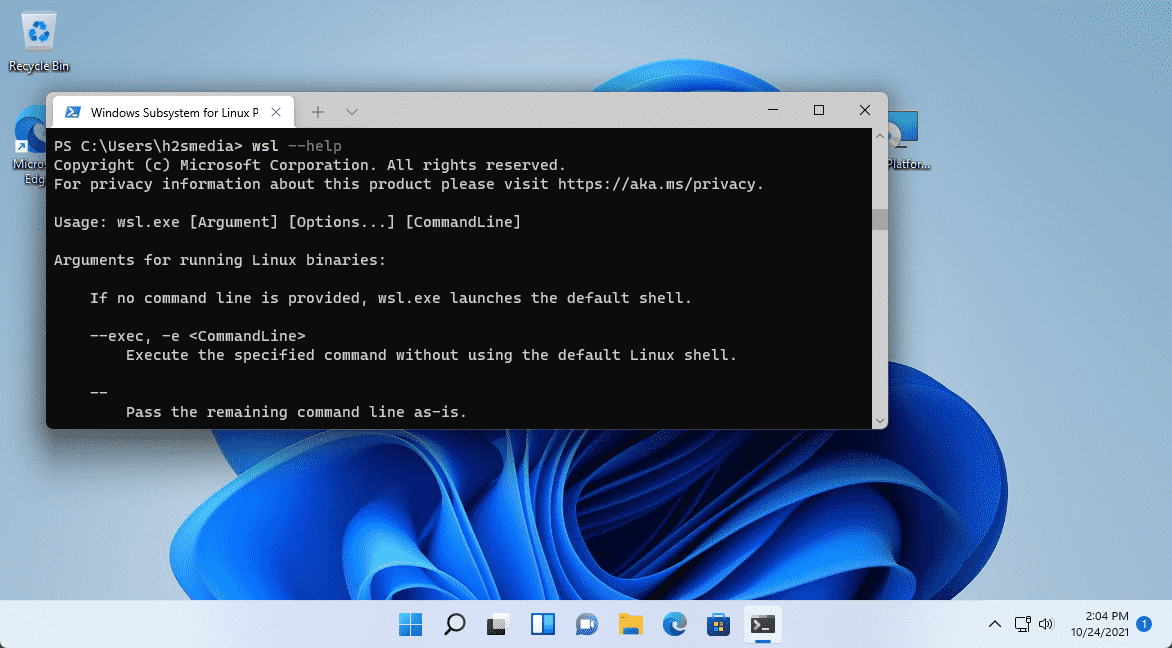
- Type
wsl --listto view the installed distributions.
Common Challenges and Troubleshooting
While the reinstallation process is generally straightforward, you might encounter some challenges:
- Missing Virtual Machine Platform: If the Virtual Machine Platform is not enabled, WSL installation will fail. Ensure it is enabled as described in step 3.
- WSL Installation Errors: If you encounter errors during installation, check your internet connection and try restarting your computer. If the issue persists, refer to Microsoft’s official documentation for troubleshooting steps.
- Distribution Compatibility Issues: Certain Linux distributions might have compatibility issues with specific WSL versions. Check the distribution’s official documentation for supported WSL versions.
The Benefits of Reinstalling WSL
Reinstalling WSL can offer various benefits:
- Resolving Errors: A fresh installation can often resolve persistent errors caused by corrupted files or configurations.
- Upgrading to New Features: Reinstalling allows you to take advantage of new features and improvements introduced in the latest WSL version.
- Clean Slate for Development: A fresh installation provides a clean slate for development projects, allowing you to start with a standardized environment.
- Enhanced Performance: In some cases, a reinstall can improve WSL performance by eliminating potential issues caused by accumulated data.
Frequently Asked Questions (FAQs)
Q: Will reinstalling WSL delete my Linux distribution data?
A: Yes, reinstalling WSL will delete all your existing Linux distribution data. It is recommended to back up any critical data before proceeding with the reinstall.
Q: Can I selectively reinstall specific Linux distributions?
A: No, reinstalling WSL will reinstall all installed Linux distributions. You can uninstall individual distributions after the reinstall if needed.
Q: What happens to my WSL configuration files?
A: Reinstalling WSL will delete all configuration files. You might need to reconfigure your settings after the reinstall.
Q: Can I use WSL without the Virtual Machine Platform enabled?
A: No, the Virtual Machine Platform is a prerequisite for running WSL. It enables the necessary virtualization capabilities.
Q: Can I revert back to a previous WSL version after reinstalling?
A: Reinstalling WSL will upgrade you to the latest version. There is no way to revert to a previous version after reinstalling.
Tips for Reinstalling WSL
- Back Up Critical Data: Back up your important files and configurations before reinstalling WSL.
- Check for Updates: Ensure you have the latest Windows updates installed before proceeding with the reinstall.
- Verify WSL Version: Check the WSL version you are installing to ensure compatibility with your desired Linux distribution.
- Use Official Documentation: Refer to Microsoft’s official documentation for detailed information and troubleshooting guides.
- Consider Using a Virtual Machine: If you require a more isolated environment or specific Linux configurations, consider using a virtual machine instead of WSL.
Conclusion
Reinstalling WSL on Windows 11 is a process that should be undertaken with caution and proper understanding. While it can resolve various issues and provide a fresh start, it is essential to back up critical data and follow the steps outlined in this guide. By understanding the benefits, challenges, and best practices associated with WSL reinstallation, you can ensure a smooth and successful experience. Remember to consult Microsoft’s official documentation for the most up-to-date information and troubleshooting steps.


Closure
Thus, we hope this article has provided valuable insights into Reinstalling the Windows Subsystem for Linux (WSL) on Windows 11: A Comprehensive Guide. We hope you find this article informative and beneficial. See you in our next article!