Capturing Your Screen: A Comprehensive Guide to Windows 11’s Built-in Recording Capabilities
Related Articles: Capturing Your Screen: A Comprehensive Guide to Windows 11’s Built-in Recording Capabilities
Introduction
With enthusiasm, let’s navigate through the intriguing topic related to Capturing Your Screen: A Comprehensive Guide to Windows 11’s Built-in Recording Capabilities. Let’s weave interesting information and offer fresh perspectives to the readers.
Table of Content
Capturing Your Screen: A Comprehensive Guide to Windows 11’s Built-in Recording Capabilities

The ability to record your screen has become an indispensable tool in today’s digital landscape. Whether you’re creating tutorials, showcasing software, documenting presentations, or simply capturing a memorable moment, having a reliable and user-friendly screen recording solution is essential. Windows 11, in its commitment to enhancing user experience, offers a robust and integrated screen recording feature that empowers users to capture their digital activity with ease.
Understanding the Significance of Screen Recording in Windows 11
The integration of screen recording directly within Windows 11 eliminates the need for third-party software, simplifying the process and streamlining workflow. This built-in functionality provides a number of advantages:
- Accessibility: Screen recording is readily available, requiring no additional downloads or installations. Users can access this feature directly from the Windows 11 interface, making it a convenient and readily accessible tool.
- Simplicity: The user interface is designed to be intuitive and user-friendly, making screen recording accessible to individuals of varying technical expertise.
- Efficiency: The streamlined process eliminates the need to navigate complex menus or settings, allowing users to focus on capturing their desired content efficiently.
- Flexibility: Windows 11’s screen recording feature provides a range of customization options, allowing users to tailor their recordings to specific needs.
- Integration: The feature integrates seamlessly with other Windows 11 functionalities, enhancing its overall utility and making it a valuable part of the operating system’s ecosystem.
Exploring the Functionality: A Step-by-Step Guide
Windows 11 offers two primary methods for capturing your screen:
-
Using the Xbox Game Bar:
- Accessing the Game Bar: Press the Windows key + G simultaneously.
- Initiating Recording: Click on the "Record" button within the Game Bar interface.
- Customizing Recording Settings: Access the "Settings" menu within the Game Bar to adjust recording resolution, frame rate, and other parameters.
- Ending Recording: Click the "Stop recording" button within the Game Bar to finalize your recording.
- Accessing Recorded Files: The recorded files are saved in the "Captures" folder within your "Videos" directory.
-
Employing the Snipping Tool:
- Opening the Snipping Tool: Search for "Snipping Tool" in the Windows search bar and launch the application.
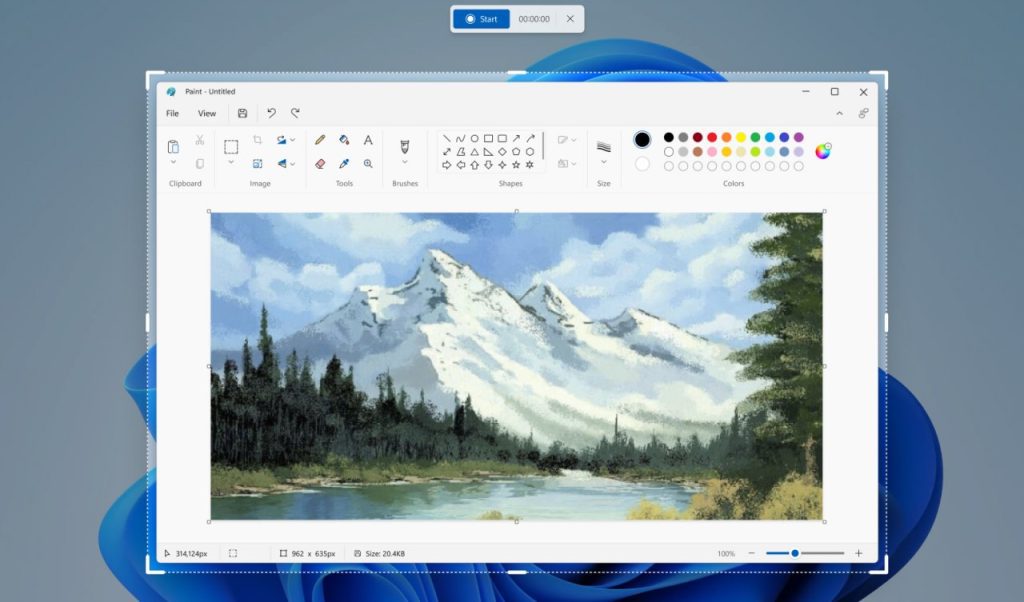
- Selecting the Recording Mode: Choose the "Record" option from the available modes.
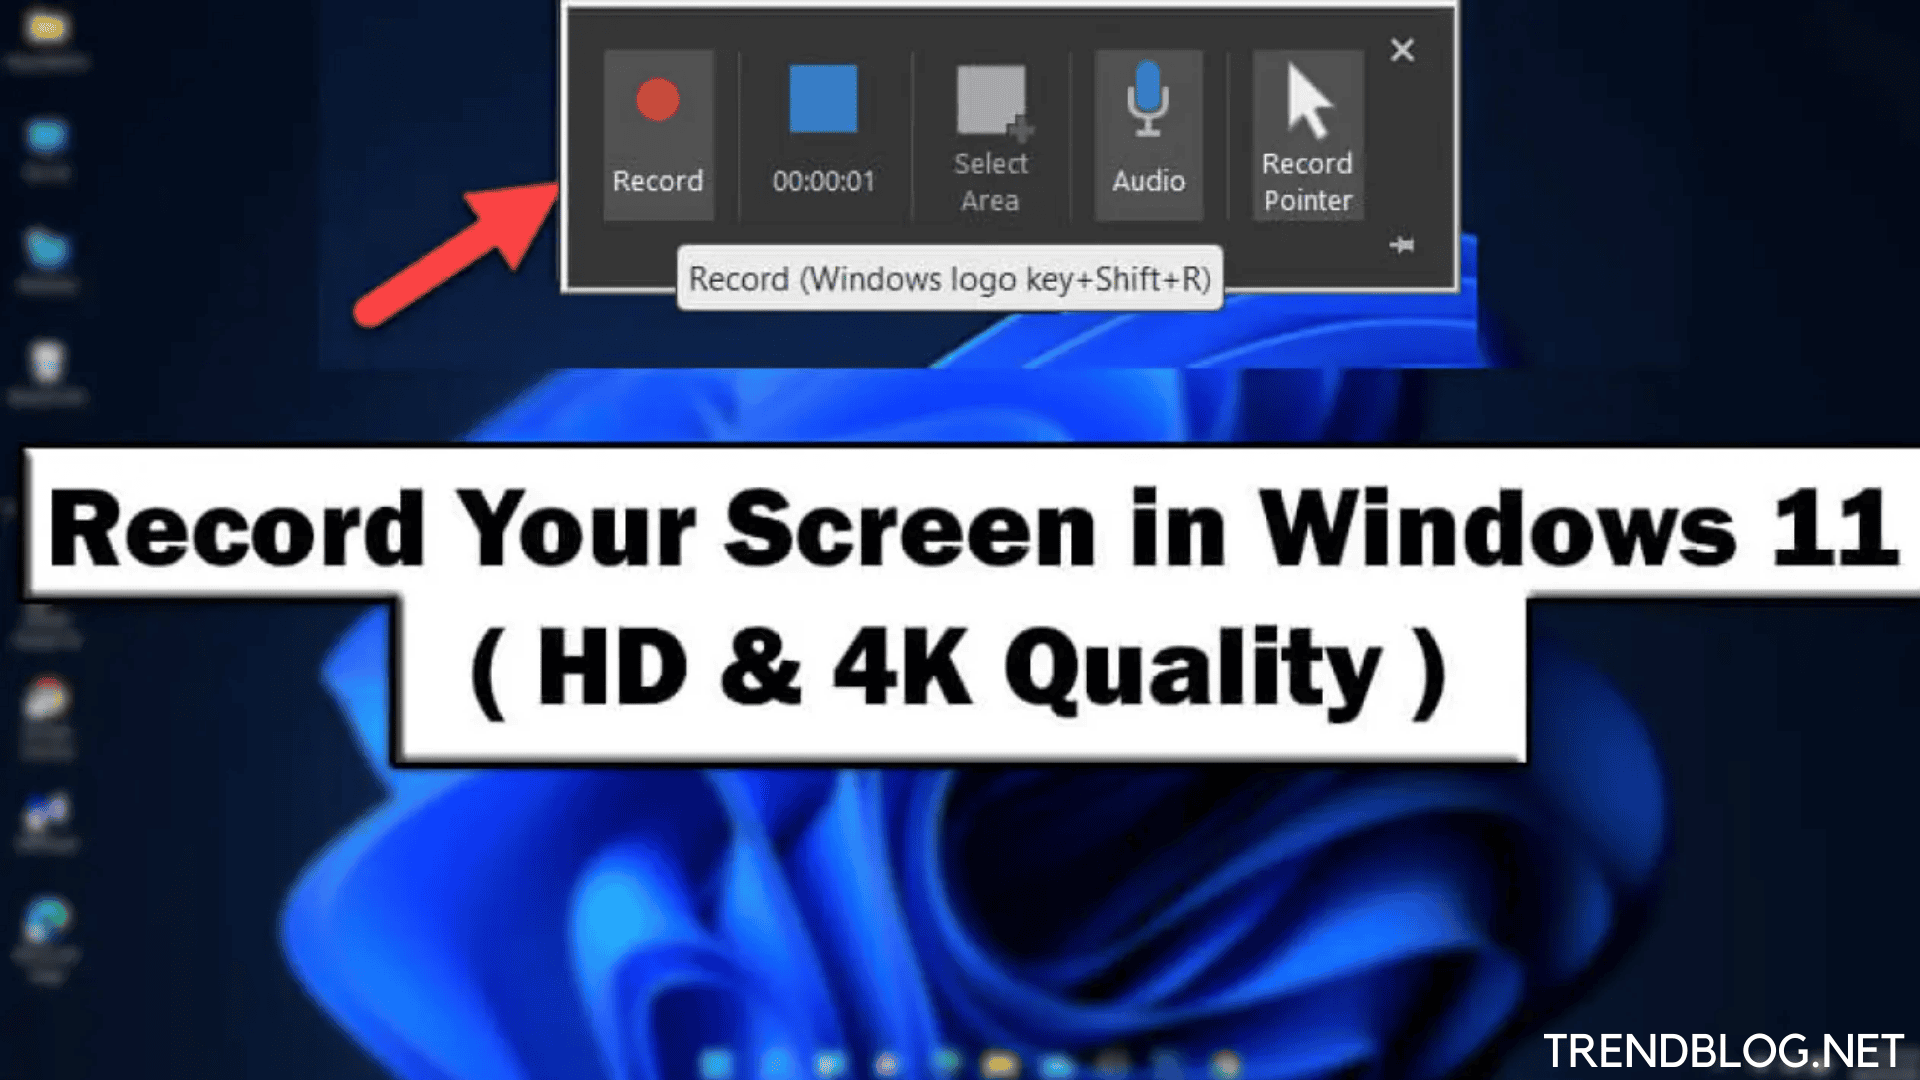
- Initiating Recording: Click the "Record" button to start capturing your screen.
- Ending Recording: Click the "Stop recording" button to finalize your recording.
- Saving the Recording: The Snipping Tool automatically saves the recording as a video file, allowing you to access it directly from the application.
Beyond the Basics: Unlocking Advanced Recording Features
Windows 11 screen recording goes beyond basic capturing. Here are some advanced functionalities:
- Audio Recording: Capture system audio along with your screen recording, providing a comprehensive multimedia experience. This is particularly useful for tutorials or presentations where audio commentary is essential.
- Webcam Integration: Include your webcam feed within the screen recording, adding a personal touch and enhancing interaction. This is valuable for creating tutorials or presentations where a visual presence is desired.
- Game Recording: Optimize recording settings specifically for gaming, capturing gameplay footage with high frame rates and minimal lag.
- Recording Specific Regions: Capture only a designated portion of your screen, allowing you to focus on specific areas of interest. This is useful for highlighting specific elements within a larger application or interface.
- Sharing and Editing: Easily share your recordings through various platforms or utilize editing tools to enhance your content. Windows 11 provides seamless integration with popular sharing and editing applications.
FAQs: Addressing Common Questions
Q1: Can I record a specific window or application instead of the entire screen?
A: While Windows 11’s built-in screen recording doesn’t offer direct window-specific recording, you can use third-party software or advanced recording techniques like selecting a specific region of your screen to achieve this.
Q2: What is the maximum recording duration in Windows 11?
A: There is no inherent time limit for recording in Windows 11. However, recording duration is primarily limited by available storage space and system resources.
Q3: How can I adjust the recording quality (resolution and frame rate)?
A: You can customize recording settings through the Game Bar’s "Settings" menu or by accessing the Snipping Tool’s recording options.
Q4: Can I record audio from a microphone during screen recording?
A: Yes, you can capture audio from your microphone by enabling the "Record audio" option within the Game Bar’s settings or the Snipping Tool’s recording options.
Q5: Can I schedule recordings to start automatically at a specific time?
A: Windows 11’s built-in screen recording does not offer automatic scheduling. However, you can utilize third-party software to achieve this functionality.
Tips for Optimal Screen Recording:
- Optimize System Resources: Close unnecessary applications and processes to ensure smooth recording and prevent performance issues.
- Utilize High-Quality Settings: Select a high resolution and frame rate for optimal video quality, particularly for capturing detailed content or gameplay.
- Utilize Audio Monitoring: Monitor audio levels during recording to ensure clear and consistent sound.
- Practice and Experiment: Familiarize yourself with the interface and explore various recording options to find the best settings for your specific needs.
- Utilize Editing Tools: Enhance your recordings with editing software to add transitions, effects, or other enhancements.
Conclusion: Empowering Users to Capture Their Digital World
Windows 11’s integrated screen recording feature empowers users to capture their digital experiences effortlessly. Its simplicity, flexibility, and integration with other Windows functionalities make it a valuable tool for a wide range of purposes. Whether you’re creating tutorials, documenting presentations, or capturing memorable moments, Windows 11 provides a user-friendly and efficient solution for capturing your screen and sharing your digital journey.
:max_bytes(150000):strip_icc()/Captureannotated-e128cac9ada949aba4a8322746ac1e0f.jpg)


:max_bytes(150000):strip_icc()/Gamebarrecordannotated-7098dcd76fdc4ed689fd8c66ea94521b.jpg)
Closure
Thus, we hope this article has provided valuable insights into Capturing Your Screen: A Comprehensive Guide to Windows 11’s Built-in Recording Capabilities. We thank you for taking the time to read this article. See you in our next article!