A Comprehensive Guide to Installing Windows 11 Pro: From Preparation to Completion
Related Articles: A Comprehensive Guide to Installing Windows 11 Pro: From Preparation to Completion
Introduction
With great pleasure, we will explore the intriguing topic related to A Comprehensive Guide to Installing Windows 11 Pro: From Preparation to Completion. Let’s weave interesting information and offer fresh perspectives to the readers.
Table of Content
A Comprehensive Guide to Installing Windows 11 Pro: From Preparation to Completion
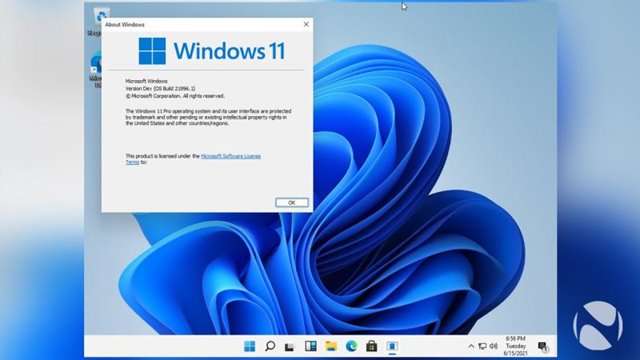
Windows 11 Pro, the latest iteration of Microsoft’s flagship operating system, offers a range of enhancements designed to elevate user experience, productivity, and security. While the installation process may seem daunting, it is a straightforward procedure when approached systematically. This article provides a comprehensive guide, covering every step from initial preparation to post-installation configuration.
Understanding the Prerequisites:
Prior to embarking on the installation process, it is crucial to ensure that your hardware meets the minimum system requirements for Windows 11 Pro. These specifications are designed to guarantee optimal performance and compatibility.
Minimum System Requirements for Windows 11 Pro:
- Processor: 1 gigahertz (GHz) or faster with 2 or more cores
- RAM: 4 gigabytes (GB)
- Storage: 64 GB or larger storage device
- Graphics Card: Compatible with DirectX 12 or later, WDDM 2.x driver
- Display: High Definition (720p) display with at least 9 inches diagonal
- Internet Connection: Required for initial setup and some features
Choosing Your Installation Method:
The installation process for Windows 11 Pro can be initiated through several methods, each with its own advantages and considerations.
- Clean Install: A clean install involves formatting the hard drive, erasing all existing data and installing a fresh copy of Windows 11 Pro. This method ensures a clean slate and eliminates potential issues caused by previous operating systems or software.
- Upgrade from Windows 10: If you are currently running Windows 10, you can upgrade to Windows 11 Pro without losing your files and applications. This method is convenient and preserves your existing data. However, it is important to note that some applications may require compatibility updates.
- Using a USB Drive: Creating a bootable USB drive with the Windows 11 Pro installation files allows you to install the operating system on a new computer or perform a clean install on your existing machine. This method offers flexibility and can be useful for troubleshooting or reinstalling Windows.
Preparing for Installation:
Once you have determined the installation method, it is essential to prepare your system and gather necessary resources.
- Backup Your Data: Before proceeding with the installation, it is crucial to back up all important data. This includes documents, photos, videos, and any other files you wish to preserve. Consider using external hard drives, cloud storage services, or backup software.
- Download the Windows 11 Pro ISO File: If you are performing a clean install or using a USB drive, you need to download the Windows 11 Pro ISO file from Microsoft’s official website.
- Create a Bootable USB Drive: To install Windows 11 Pro from a USB drive, you need to create a bootable drive. This can be done using the Windows 11 Pro installation media creation tool or third-party software.
- Verify System Requirements: Ensure that your computer meets the minimum system requirements for Windows 11 Pro. If your system does not meet the requirements, you may need to upgrade your hardware or consider an alternative operating system.
- Disable Antivirus Software: Temporarily disable your antivirus software during the installation process. Antivirus software can sometimes interfere with the installation and cause errors.
Installing Windows 11 Pro:
The installation process varies slightly depending on the chosen method. However, the general steps remain similar.
Clean Install:
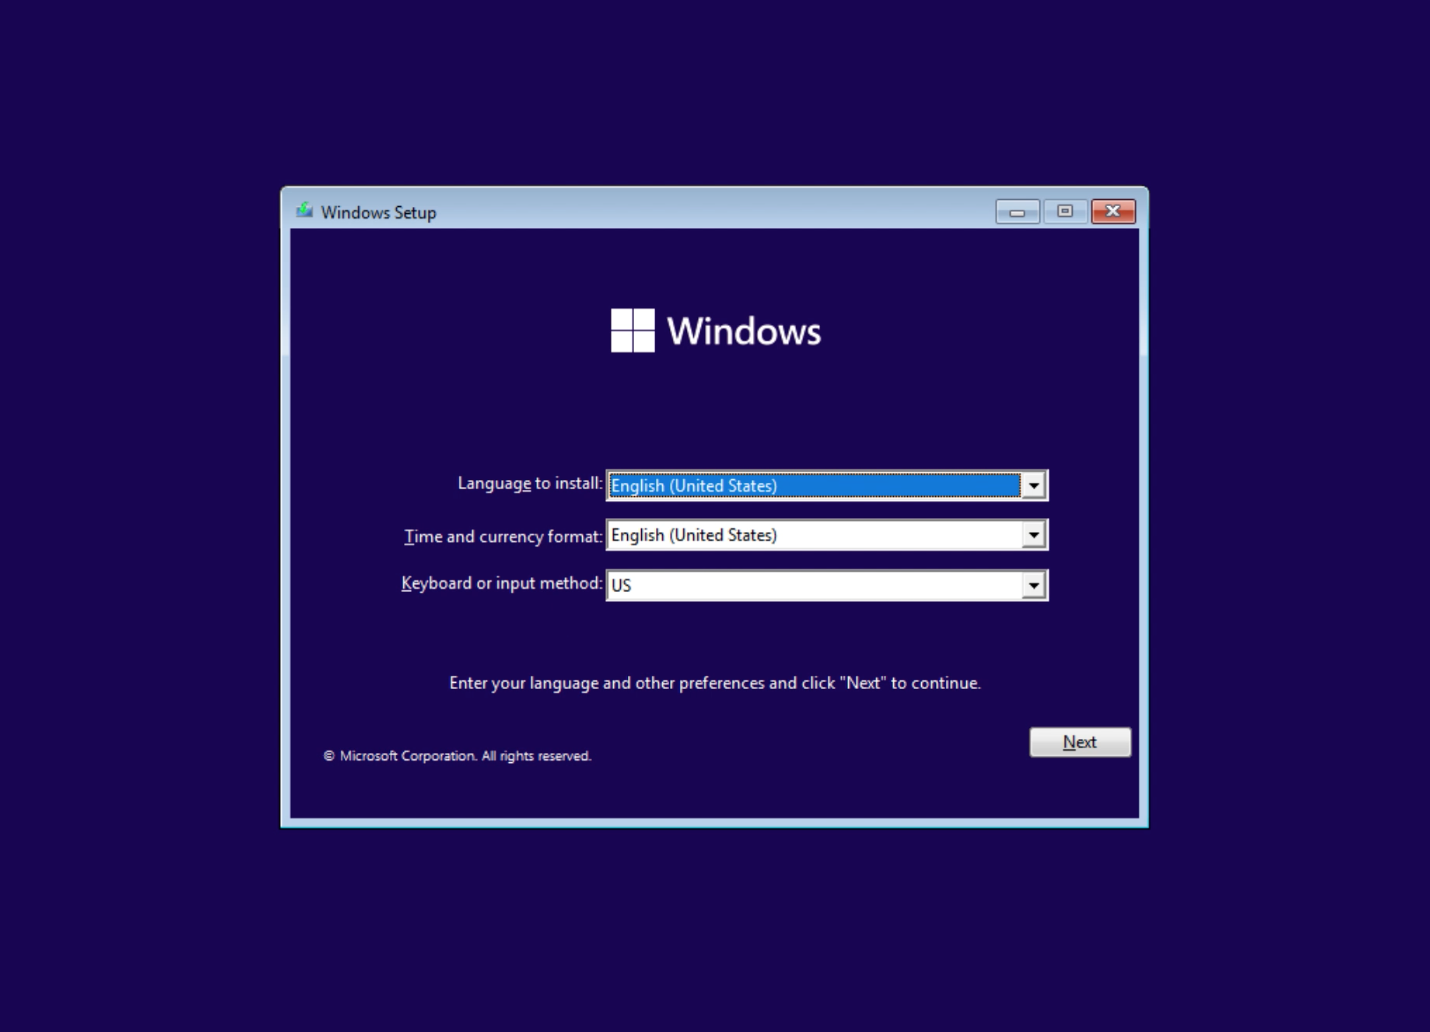
- Boot from the Installation Media: Insert the bootable USB drive or DVD into your computer and restart it. Access the boot menu (usually by pressing F12, F10, or Esc) and select the bootable device.
- Follow the On-Screen Instructions: The Windows 11 Pro setup wizard will guide you through the installation process. Select your language, region, and keyboard layout.
- Choose the Installation Type: Select "Custom: Install Windows only (advanced)" to perform a clean install.
- Format the Hard Drive: Select the hard drive where you want to install Windows 11 Pro and format it. This will erase all existing data.
- Install Windows 11 Pro: Follow the remaining instructions to complete the installation. The process may take some time depending on your hardware configuration.
Upgrade from Windows 10:
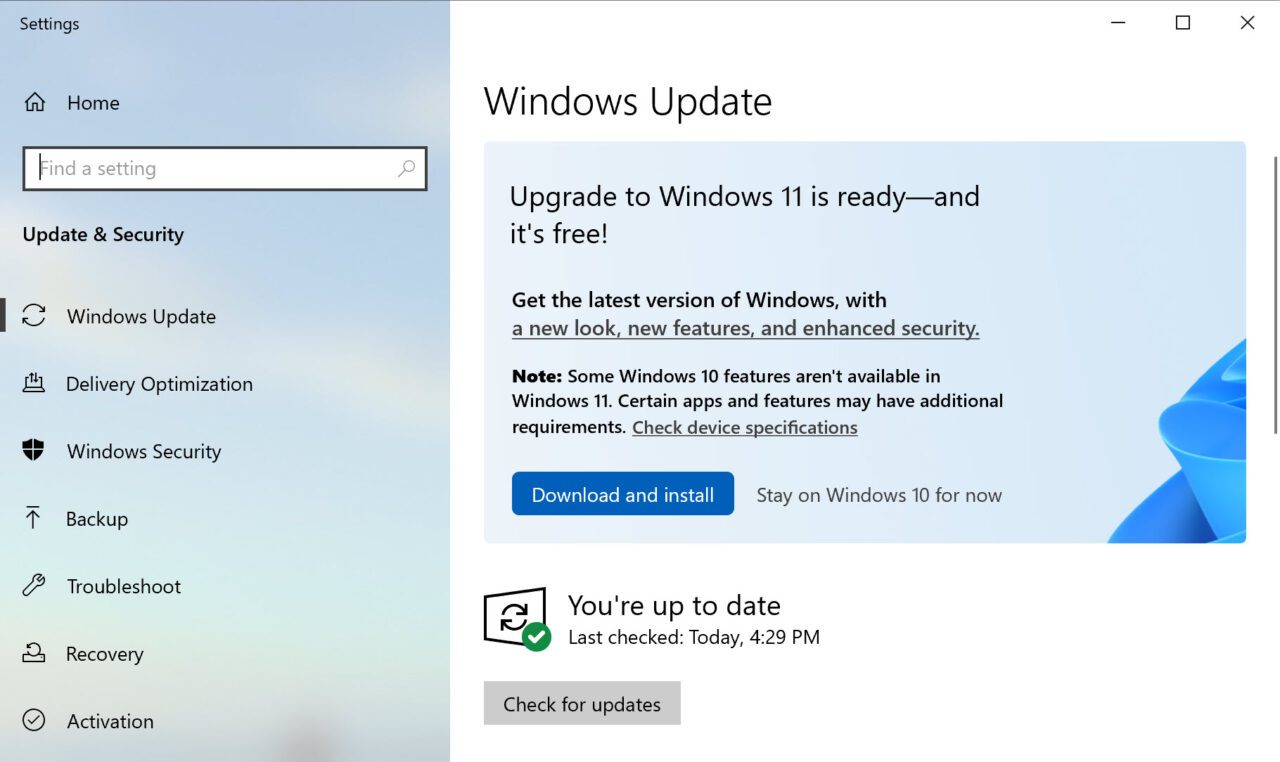
- Open Windows Update: Go to Settings > Update & Security > Windows Update.
- Check for Updates: Check for available updates and download the Windows 11 Pro upgrade.
- Follow the On-Screen Instructions: The upgrade process will guide you through the necessary steps. It is recommended to keep your computer plugged in during the upgrade.
Using a USB Drive:
- Boot from the USB Drive: Follow the same steps as a clean install to boot from the USB drive.
- Follow the On-Screen Instructions: The Windows 11 Pro setup wizard will guide you through the installation process.
- Choose the Installation Type: Select the desired installation type, whether it is a clean install or an upgrade.
- Complete the Installation: Follow the remaining instructions to complete the installation.
Post-Installation Configuration:
Once Windows 11 Pro is installed, you need to perform some initial configuration tasks to personalize your system and enhance security.
- Create a User Account: Create a user account with a strong password. Consider using a combination of uppercase and lowercase letters, numbers, and symbols.
- Connect to the Internet: Connect to the internet to activate Windows 11 Pro and download the latest updates.
- Install Drivers: Install the latest drivers for your hardware components. This ensures optimal performance and compatibility.
- Install Necessary Software: Install any essential software, such as antivirus, productivity tools, and web browsers.
- Customize Settings: Adjust system settings, such as display resolution, language, and notifications, to your preferences.
Frequently Asked Questions (FAQs):
Q: What are the key benefits of Windows 11 Pro?
A: Windows 11 Pro offers several advantages, including enhanced security features, improved performance, a streamlined user interface, and advanced productivity tools. These features cater to both individual and business users.
Q: Can I upgrade from Windows 7 or 8 to Windows 11 Pro?
A: While direct upgrades from Windows 7 or 8 are not supported, you can perform a clean install of Windows 11 Pro on your existing computer. This requires backing up your data and formatting your hard drive.
Q: Do I need to purchase a new license for Windows 11 Pro?
A: If you are upgrading from a qualifying version of Windows 10, you can usually use your existing license key for Windows 11 Pro. However, if you are performing a clean install on a new computer, you will need to purchase a new license.
Q: What are the minimum hardware requirements for Windows 11 Pro?
A: The minimum system requirements for Windows 11 Pro are listed in the "Understanding the Prerequisites" section of this article.
Q: How can I troubleshoot Windows 11 Pro installation issues?
A: If you encounter installation issues, you can try the following:
- Check the System Requirements: Ensure that your computer meets the minimum system requirements.
- Verify the Installation Media: Ensure that the bootable USB drive or DVD is properly created and working correctly.
- Disable Antivirus Software: Temporarily disable your antivirus software during the installation process.
- Check for Errors: Look for error messages and search for solutions online or contact Microsoft support.
Tips for a Smooth Windows 11 Pro Installation:
- Plan Ahead: Back up your data, gather necessary resources, and verify system requirements before beginning the installation.
- Use a Bootable USB Drive: This method offers flexibility and allows for clean installations.
- Disable Antivirus Software: Temporarily disable your antivirus software to avoid potential conflicts.
- Be Patient: The installation process may take some time, depending on your hardware configuration.
- Seek Assistance: If you encounter issues, consult Microsoft support or online resources for troubleshooting guidance.
Conclusion:
Installing Windows 11 Pro is a relatively straightforward process when approached systematically. By understanding the prerequisites, choosing the appropriate installation method, preparing your system, and following the provided instructions, you can successfully install and configure Windows 11 Pro. This powerful operating system offers numerous benefits, enhancing user experience, productivity, and security. Remember to back up your data, disable antivirus software, and seek assistance if you encounter any issues. With careful planning and execution, you can seamlessly transition to the latest version of Windows and enjoy its advanced features.


Closure
Thus, we hope this article has provided valuable insights into A Comprehensive Guide to Installing Windows 11 Pro: From Preparation to Completion. We hope you find this article informative and beneficial. See you in our next article!